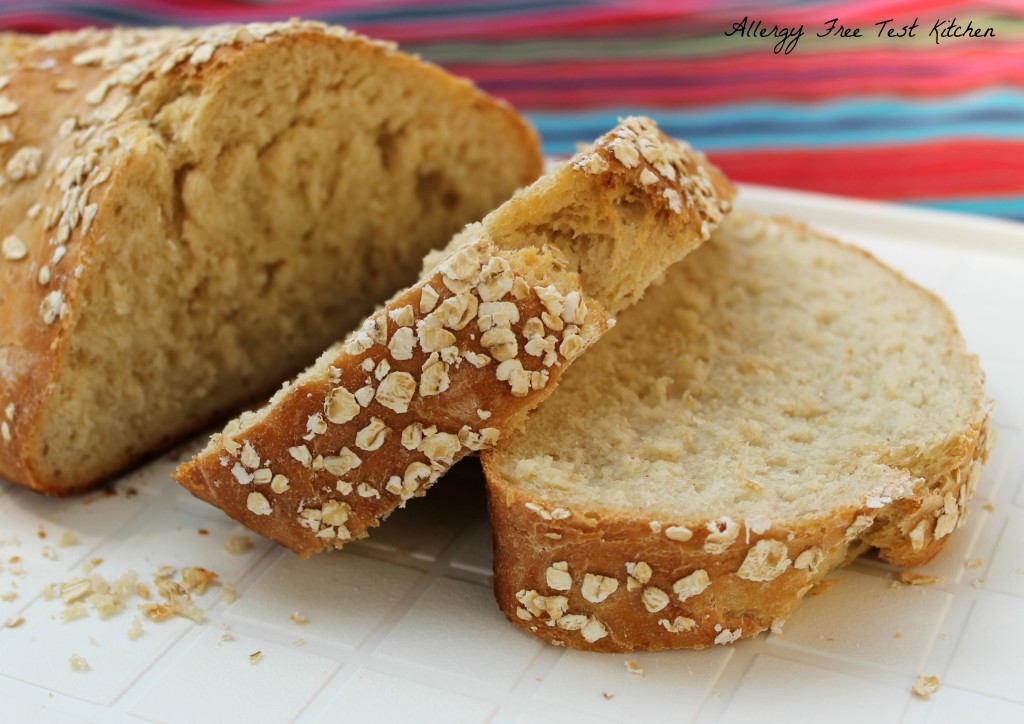
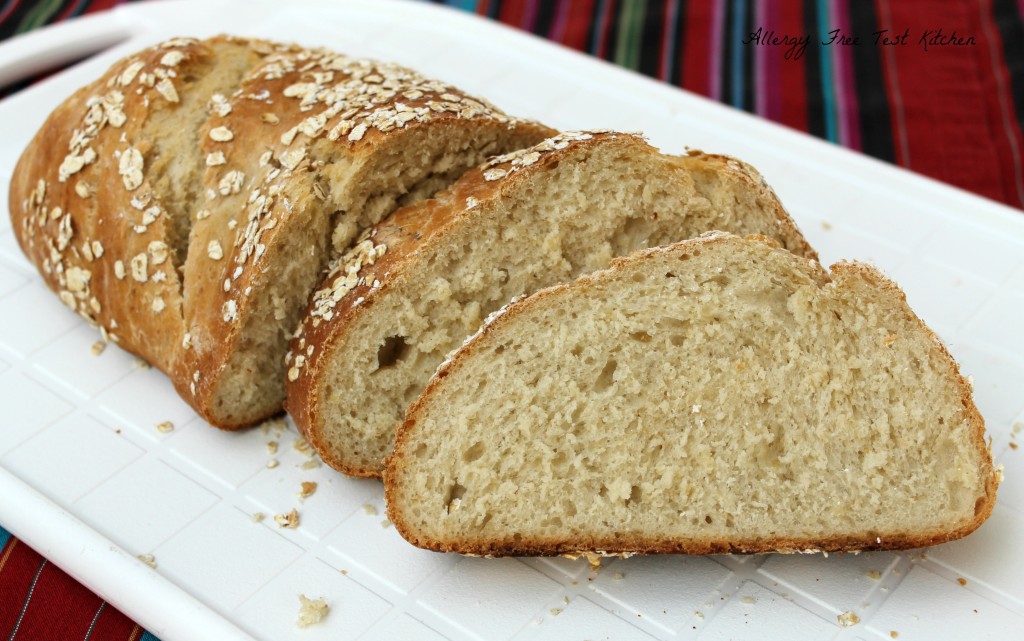
I made a yeast bread with wheat flour today and it was fun! I had trouble deciding if I should put this on the blog since it isn’t gluten free. But it is bread that is free of milk, egg, and soy, so I thought it would still come in handy for many people.
This recipe is great to make when you are having company or making bread to give to a friend because it makes two large loaves. Don’t be scared off by making your own bread! This is easy if you simply follow the directions.
I’m all about recipe attribution here so this is where I’m going to tell you that I did not write this recipe. However, I do not know who did. I was given the recipe which was photocopied from a photocopy. I did however; re-write the method, as that needed a lot of work in my opinion.
This bread goes with just about anything! And can be eaten any time of day.
Once you make this you’ll be happy you did! And will you make me happy by commenting, ‘liking’ my Facebook page, subscribing or following on Twitter or Pinterest!? (You can do this in the header of the blog next to my logo)!
Also shared at Full Plate Thursday . Wellness Wednesday.
Honey Oatmeal Bread
Ingredients:
- 1 cup uncooked instant oats
- 2 cups boiling water
- 1 pkg. yeast
- 1/4 cup warm water (110 degrees)
- 1/3 cup honey
- 1 T. canola oil
- 2 tsp. salt
- 5 1/4-1/2 cup unbleached flour
Directions:
- Put oats in large bowl.
- Pour boiling water over oats and let stand for 15 minutes.
- Sprinkle yeast into the 1/4 cup warm water (use a meat thermometer to make sure it’s at least 110 degrees).
- Let the yeast/water mixture sit at least 5 minutes.
- After 15 minutes have passed, run a finger through the oat mixture on the bottom of the bowl. If it is lukewarm great. If it is hot, let sit a little longer until it reaches a lukewarm temp.
- Once the oat mixture is lukewarm, add yeast/water mixture, honey, oil and salt. Mix well.
- Add one cup of flour, mix a little bit, add the second cup of flour, mix a little bit, and so on until you have put in 5 cups flour.
- Place dough (even if it isn’t all together) on a floured board. Knead for two minutes letting it come together.
- Cover with paper towel and let rest for 10 minutes.
- After 10 minute rest period, add 1/4 to 1/2 cup more flour as you deem necessary and knead it briefly. Shape into ball like shape.
- Spray another bowl with cooking spray.
- Place dough in that bowl and turn to coat all sides.
- Spray plastic wrap with cooking spray and cover bowl.
- Let rise in a draft free place for about 1 hour or until double in size.
- Punch the dough down 3-4 times after the one hour rise.
- Take dough out of bowl and place onto a clean, not floured board. Divide into two equal parts.
- Knead one piece of dough to remove any air pockets (bread should be sticky). Shape dough into loaf shape and roll in extra oats.
- Place on lightly greased cookie sheet.
- Take the second piece of dough and repeat steps 17 and 18. (You will need two cookie sheets).
- Cover each loaf with plastic wrap that has been sprayed with cooking spray.
- Let rise 30 minutes or until double in size.
- While this last 30 minute rise is happening, preheat oven to 350 degrees.
- After rise is complete, remove plastic wrap, and place loaves in oven, side by side, on a rack that is in the middle of the oven.
- Bake for 45 minutes or until they are nicely browned and sound hollow when tapped on the bottom.
- Remove from cookie sheets and cool on cooling rack.


I am so gonna try this!
Is it sticky the whole time you knead it? Do you wait for that soft spingy feeling? I want to make this tomorrow.
It’s not so sticky while adding all the flour, but after the rising and before seperating in two pieces to rise some more, it should be very sticky. That’s why you want a clean unfloured board for the second time around. 🙂
Bread is my weakness and I can’t wait to try this recipe. Hope you are having a great summer weekend and thank you so much for sharing with Full Plate Thursday.
Come Back Soon!
Miz Helen
Looks delish, but unfortunately I can’t eat it because I’m GF. Thanks for sharing, I’m sure many that aren’t GF will enjoy!
We are mostly GF here too, but this was an exception since I made some for a friend.
Congratulations!
Your recipe is featured on Full Plate Thursday this week. Hope you are having a great weekend and enjoy your new Red Plate.
Come Back Soon!
Miz Helen
Do you know how I could adapt this to a bread maker?
No, I do not.